Last updated
Tutorial step 3 – Modify the landing page
The landing page is likely to be the first impression for many of your users. This page plays a crucial role in persuading new visitors to delve further into your marketplace, so it needs to be visually appealing and inviting.
Table of Contents
To customize the landing page and construct additional pages, we'll take advantage of Sharetribe's built-in Content Management System, Pages. With Pages, you can edit your content pages like "About us", "How it works", "Terms of use", and so on, or even create a simple blog. In this tutorial, we will only work on your Landing page.
All your content pages can be modified under Content → Pages. Once
in Pages, Go to your landing page card and click on “Edit content.”

Optional Tip: Before editing the content, click “View page,” which will open the landing page on a separate tab. You can use this tab’s refresh option in your browser and see changes after saving each section.
Within the landing page edit page, you will encounter several sections. You can add and remove sections according to your unique needs. In this tutorial, we'll only make a few quick modifications to the existing sections to build a landing page for our bike marketplace with a minimum amount of work.
1. “hero” section
The first section of a landing page is typically called "Hero". It often includes your main message, with the most important "call-to-action" (an invite for a user to take a specific action by clicking a button, etc). We'll keep this section, but it should be talking specifically about bikes.
There are several settings we can keep intact.
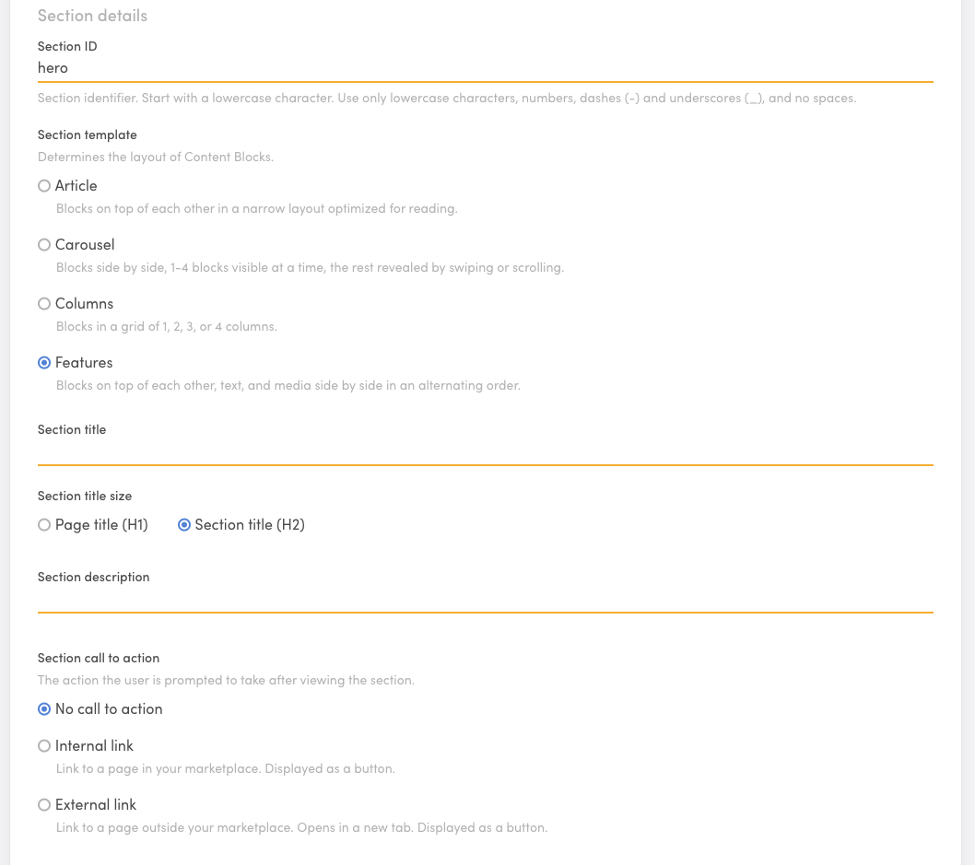
- Don’t change Section ID. Don’t change the Section template selection (leave it as “Features”)
- Leave the section title and Section description empty. You will affect the look of this section through the section Block.
- Keep the default “No call to action” option.
The settings should look like this:

We do want to change the background image though.
- In the Section appearance section choose “Custom” And add this image:

Then, let's change the text content. The hero section already has a content block called "hero-block". Make the following changes:
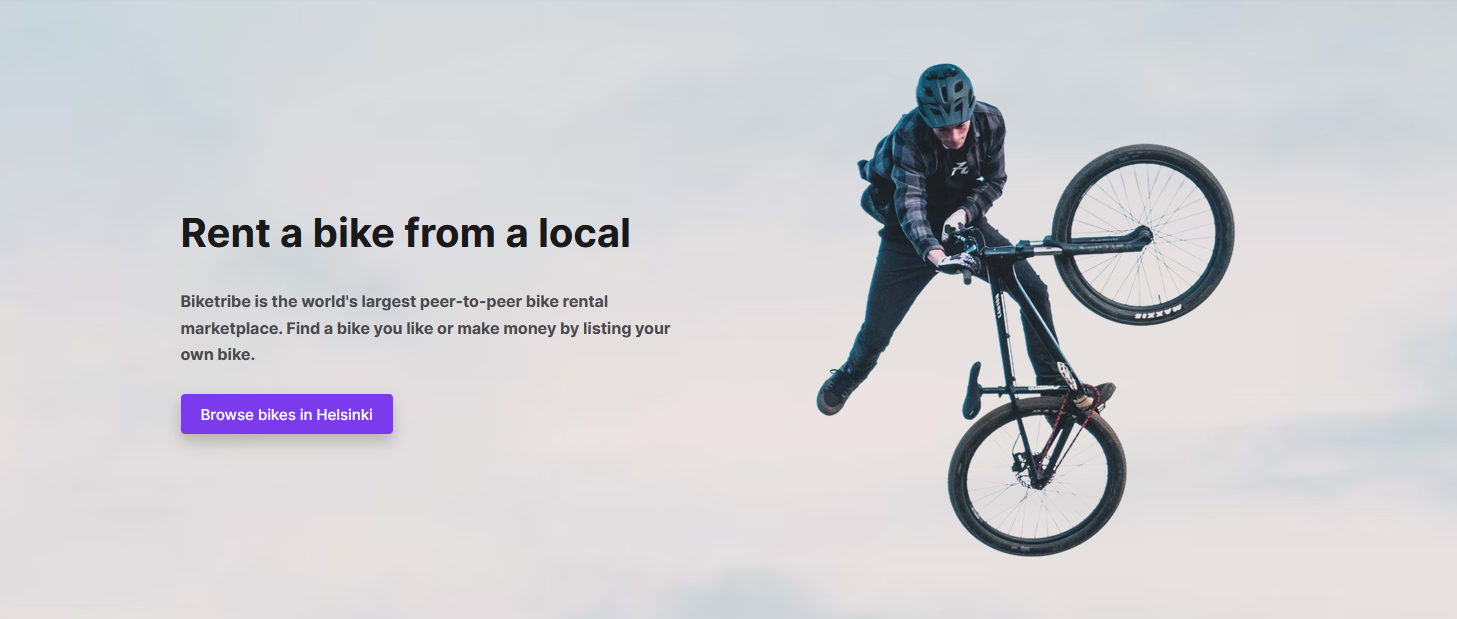
- Replace the Image file for the file below. Leave the Aspect ratio and Image alt text as they are. Download the image here
- Replace the Block title content for: “Welcome to Biketribe” and select Page title (H1) as the Block title size.
- Replace the Block text content for: write “We want to bring everyone access to any kind of bikes, while reducing the need to own a bike. That's better for the people and for the planet.”
- Change the Internal link text to “Browse bikes in Helsinki.” Leave all other call-to-action settings intact.
Save changes and check the current view on the “view page” tab you opened earlier.

2. “how-it-works” section
Open the “how-it-works-for-customers” section. Change the section ID to “how-it-works”. Replace or insert the word “Bike" in every appropriate text of the section. You can change it in:
- Section title
- Section description
- Content blocks:
- Block titles
- Block texts
In Block 3 of the section, “how-it-works-step-3”, Change the Block title for “3. Start enjoying!” and the Block text for: “Use Biketribe’s messaging system to iron out the details of the rental, and prepare for an exciting experience!”
3. "featured-items" section
The next section, featured items, can be used to link directly to items, or in this case, locations where you have or expect to have the most listings. By default, the section already contains some locations. We will use the pre-set locations for this tutorial.
We'll only make a few minor changes to the text content:
- Change the Section Title to: “Find a bike anywhere”.
- Change the section description to “No matter where you are, we have the right bike for you.”
There's no need to change the Section call to action or the Section appearance
Within the Content blocks, you will see there are 6 cities pre-set. Within each city’s Content Block open the Block and alter the Block text, and only the Block text. Insert the word “bikes”.
4. Other sections
Remove all other sections from the Page editor.
Remember to “Save changes”
5. SEO & Social
At the top of the page editor, there's a tab "SEO & Social". It allows you to set titles and descriptions for your page for search engines and social media sites.
Add the following content:
- Page title: Biketribe - Find a bike everywhere
- Page description: The largest online community to find and rent a bike.
- Page title for social media: Find a bike everywhere
- Page description for social media: The largest online community to find and rent a bike.
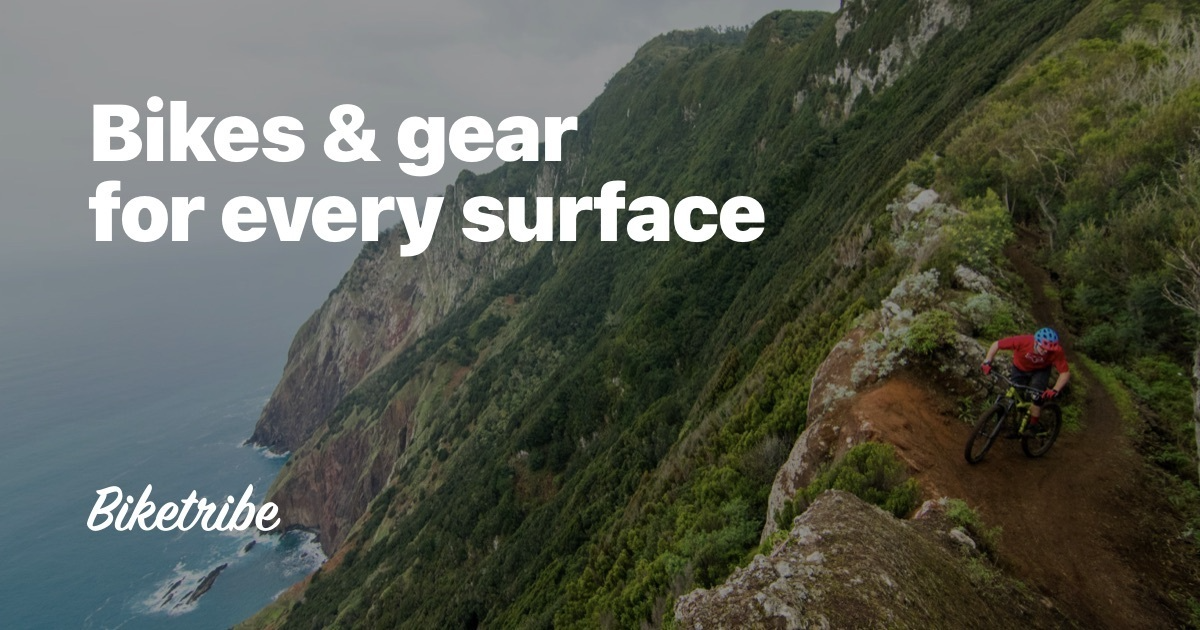
- Social media image: Add the following image :

Save changes.
6. Other static Pages
By default, your marketplace includes three other static content pages that you should change before you launch: "About", "Privacy Policy", and "Terms of Service". "About" is an optional page you can remove if you don't need it. "Privacy Policy" and "Terms of Service" are mandatory to have. Sharetribe provides a template for both pages. In addition to these, you can add any number of other content pages.
We won't go through these pages in this tutorial. Now that you know how to edit your landing page, you can use the same editor for the other pages.
Next: listing type
That's it for landing page! Next, it's time to start configuring how listings in your marketplace work. Go to Step 4: Adjust listing type.